AIで「無料で」「精度99%」の文字起こし&記事化する方法の手順をDifyで自動化した記事です。
プラグインのインストール
今回はgeminiとchatGPTを使うのでプラグインをインストールします。

ワークフロー作成
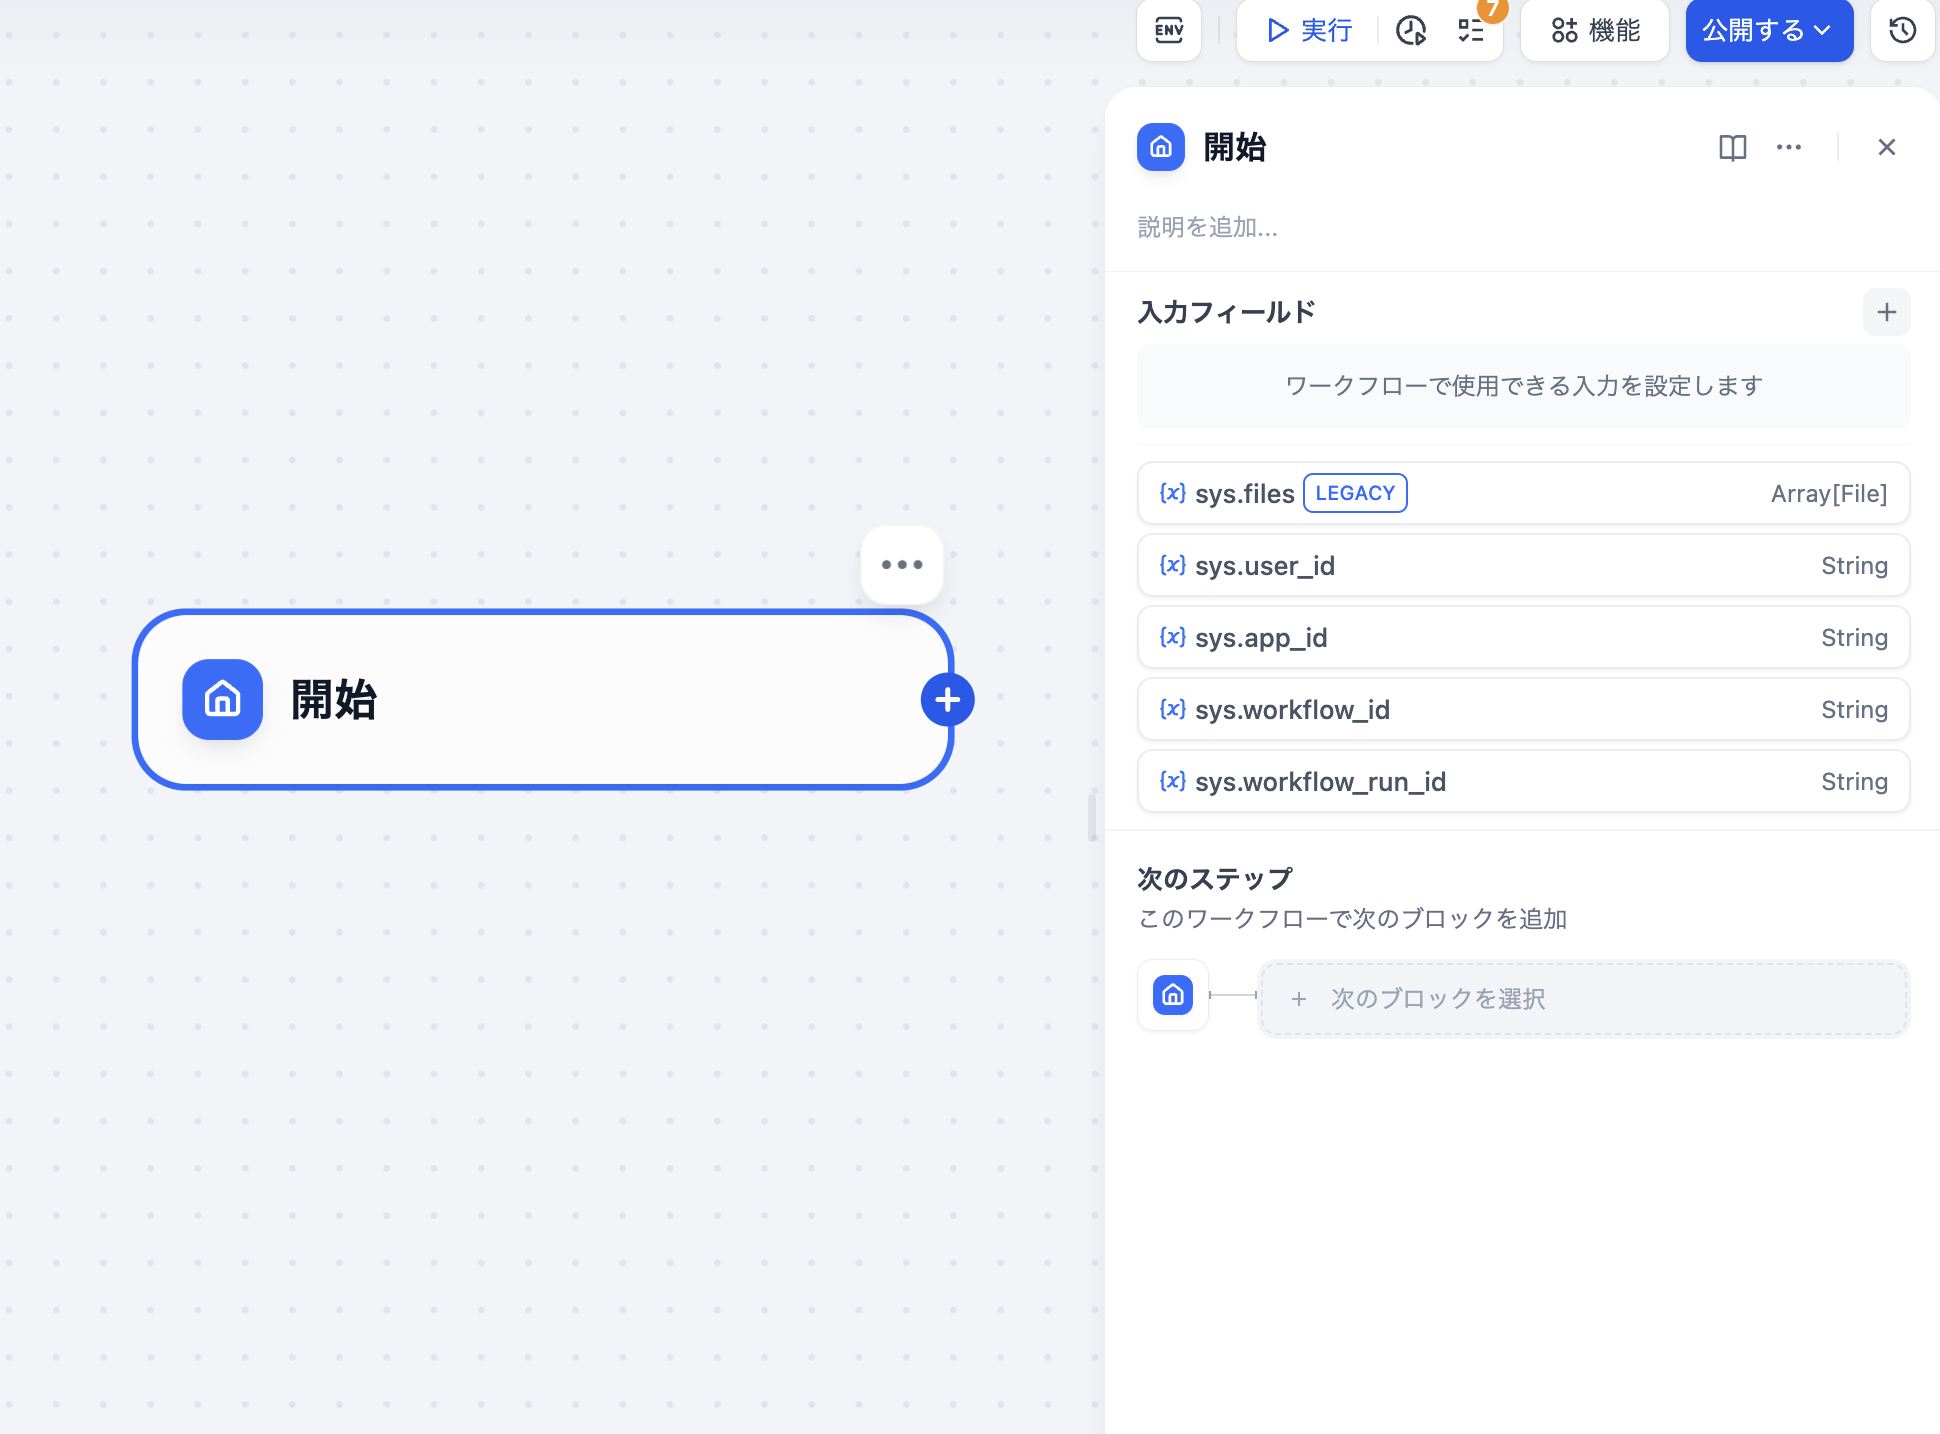
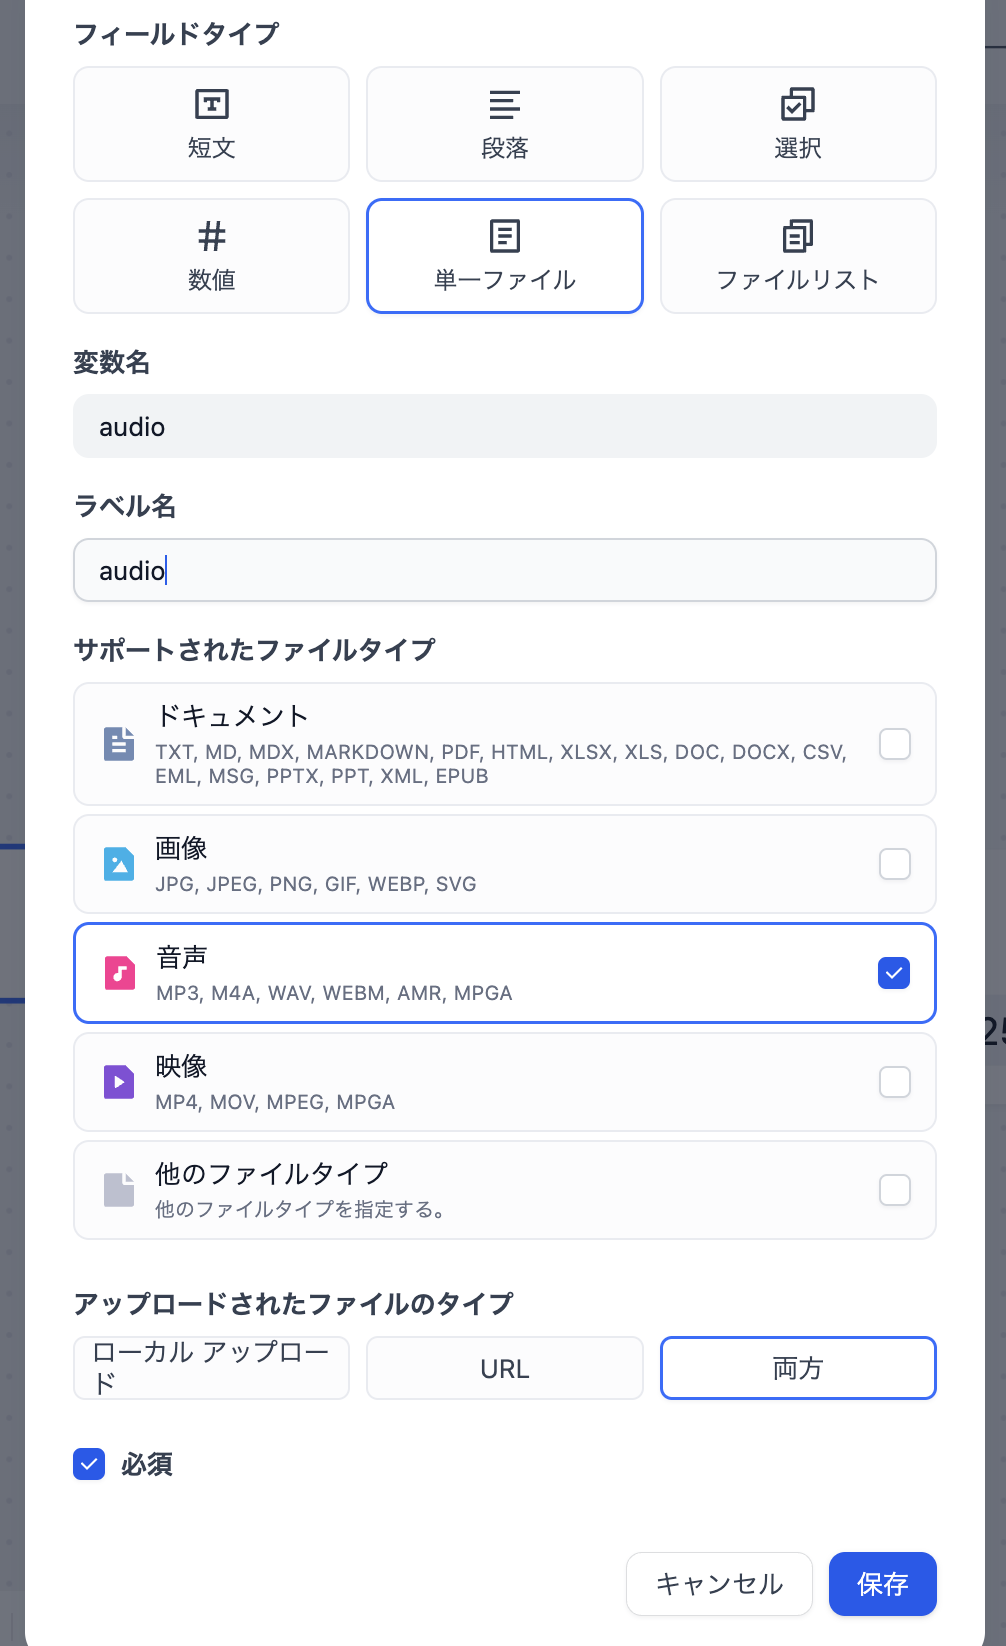
変数の設定
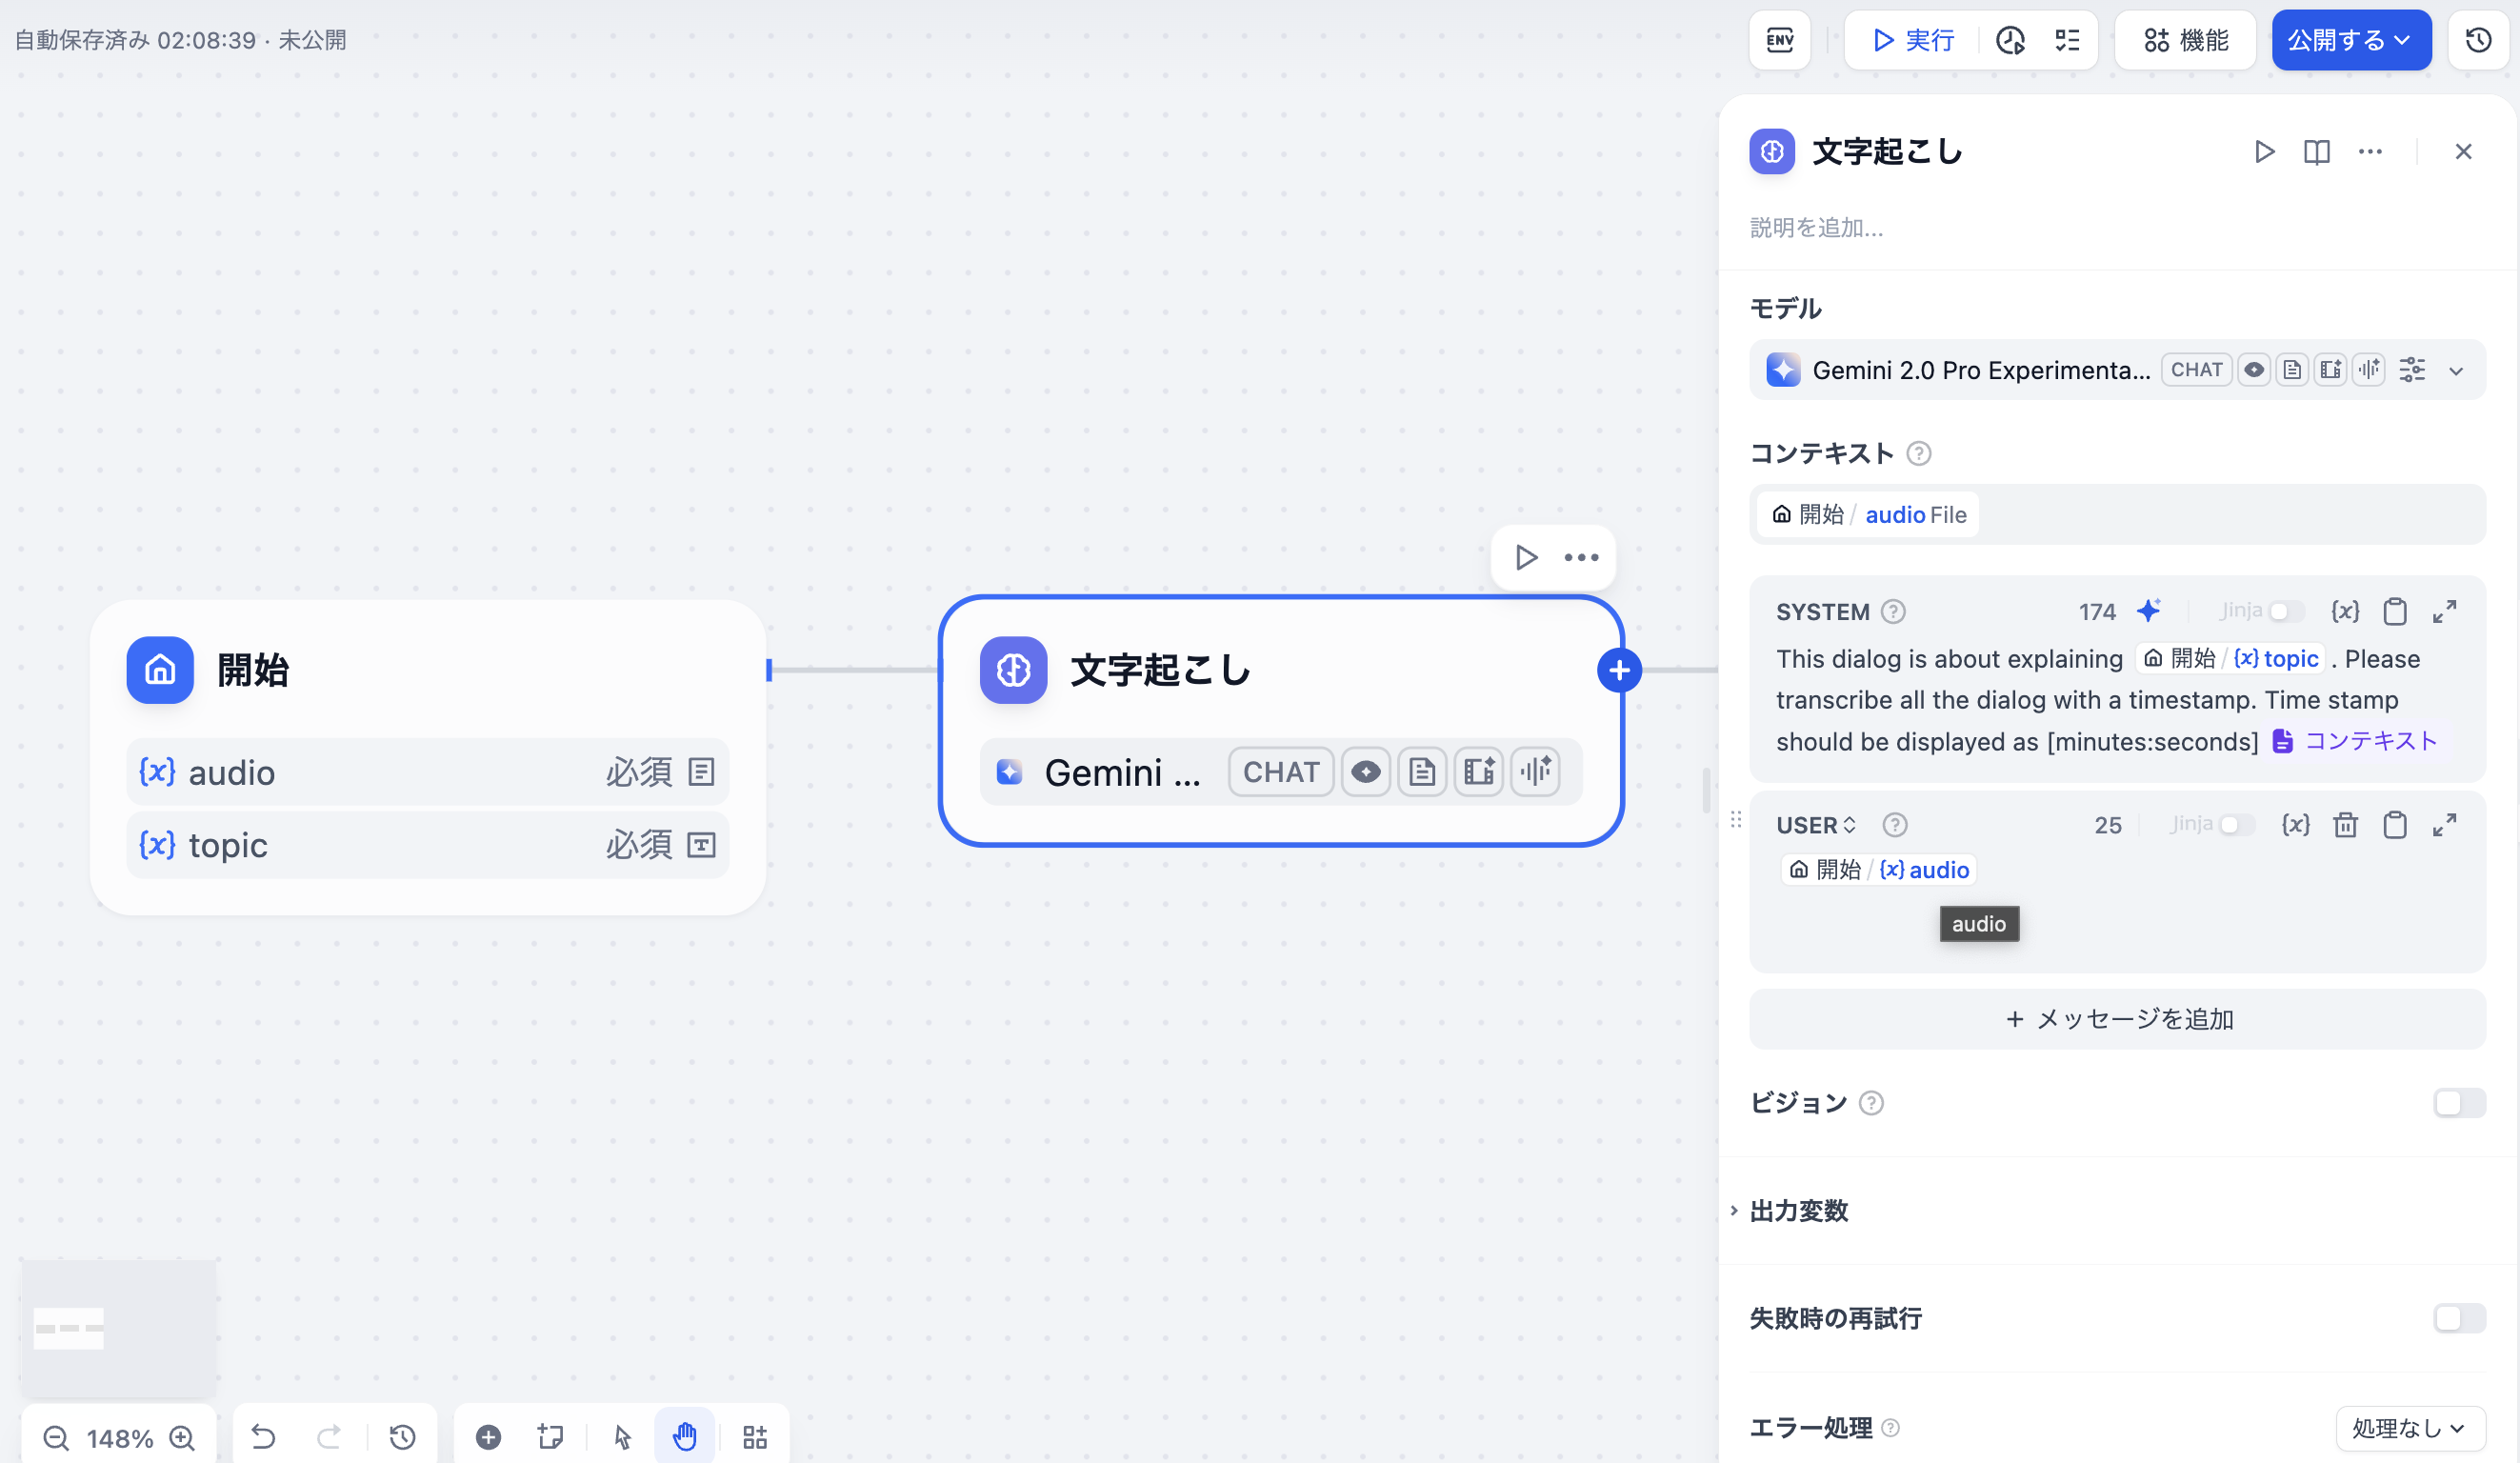
文字起こしブロックを作成
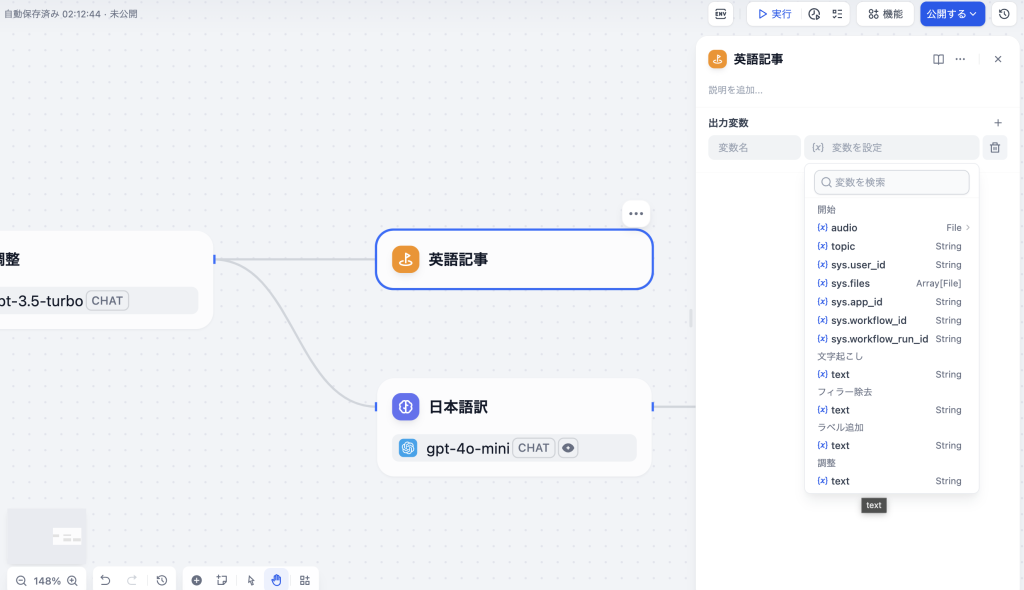
フィラー除去ブロックを作成
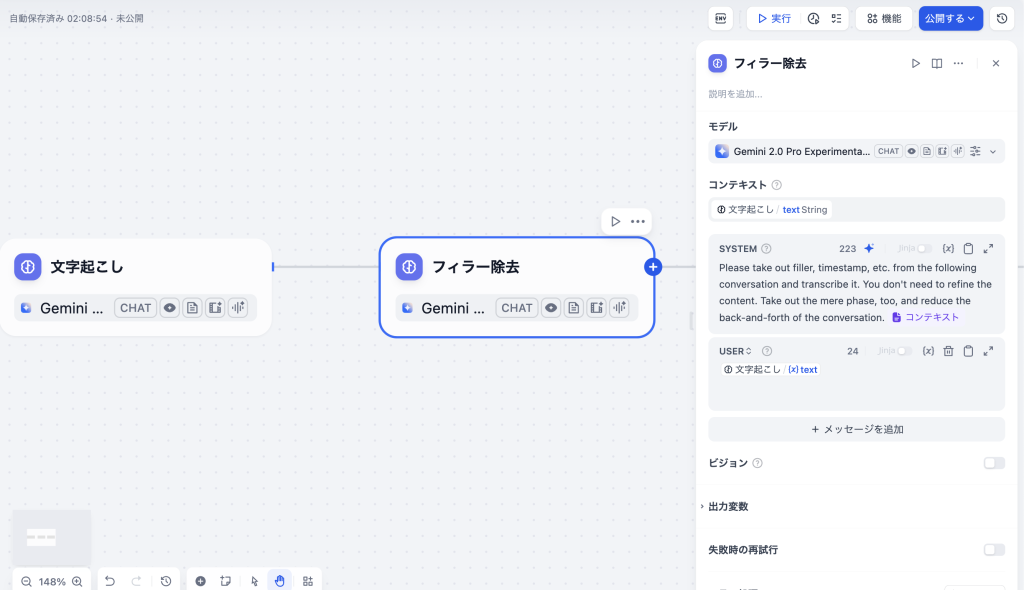
終了ブロックを作成
最終的なワークフローとプロンプト
最終的にワークフローは以下のようになりました。

使用したプロンプトは以下の通り。
文字起こし
This dialog is about explaining {トピックの変数}. Please transcribe all the dialog with a timestamp. Time stamp should be displayed as [minutes:seconds]{{#context#}}フィラー除去
Please take out filler, timestamp, etc. from the following conversation and transcribe it. You don't need to refine the content. Take out the mere phase, too, and reduce the back-and-forth of the conversation.{{#context#}}ラベル追加
Can you add "Interviewer:" and "Interviewee:" so that we can see 2 people are talking. Most of the sentence are spoken by the interviewee.{{#context#}}調整
Remove the name of the company or individual. However, please leave the name of the technology.
“Interviewer:” should be changed to “人名1:”.
“Interviewee:” should be changed to “人名2”.{{#context#}}
(AIが立場を理解しやすいようにまずInterviewer,Intervieweeと入れてから、人名に変換しています)
日本語訳
以下の記事の内容をそのまま日本語に訳してください。その際に、日本語の記事として適切な読み口にしてください。
記事として文をまとめて意訳したりせず、ひとつひとつの文章を翻訳してください。また口調はビジネスカジュアルなですます調の口語にしてください。{{#context#}}
これで全体の流れが自動化できました。ただ、音声ファイルが大きすぎるとAPI制限に達してしまうことがあるようです。


